Last updated November 21, 2026
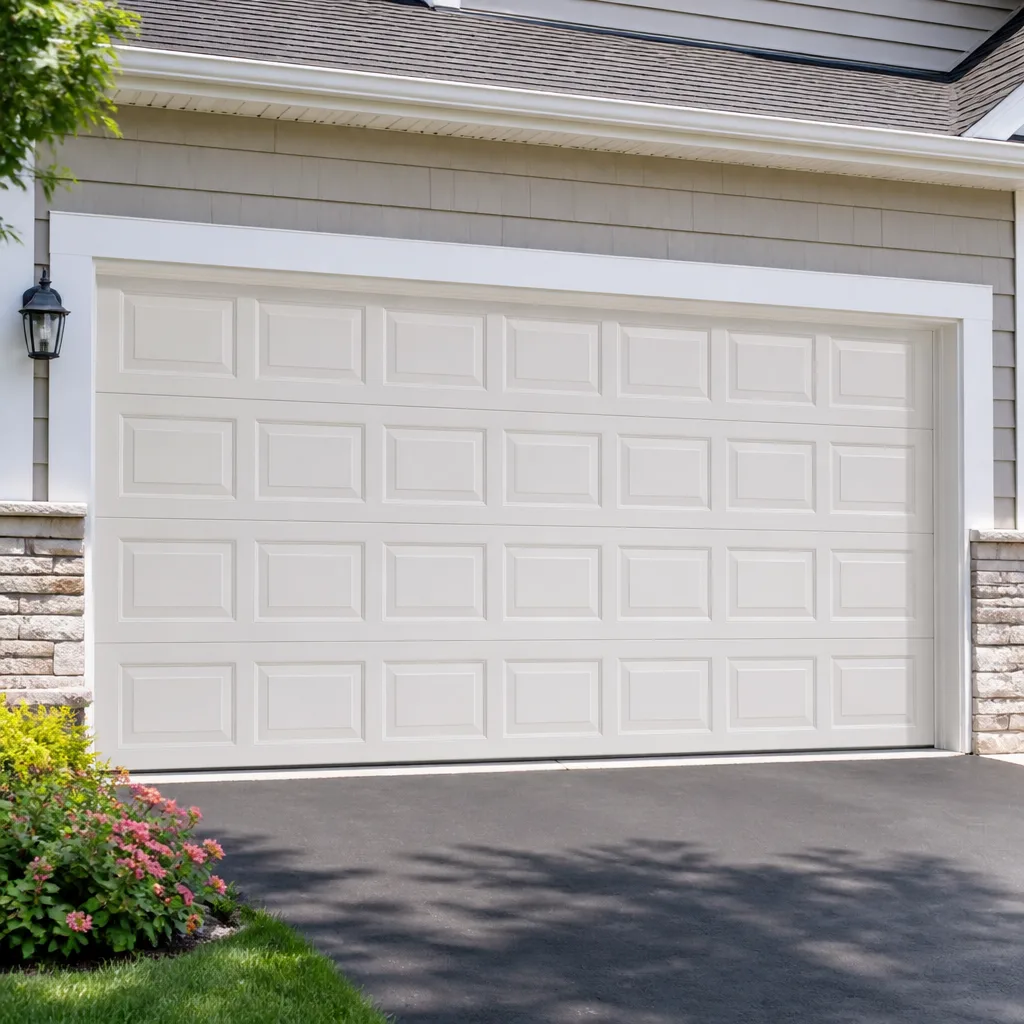 Raised-panel steel
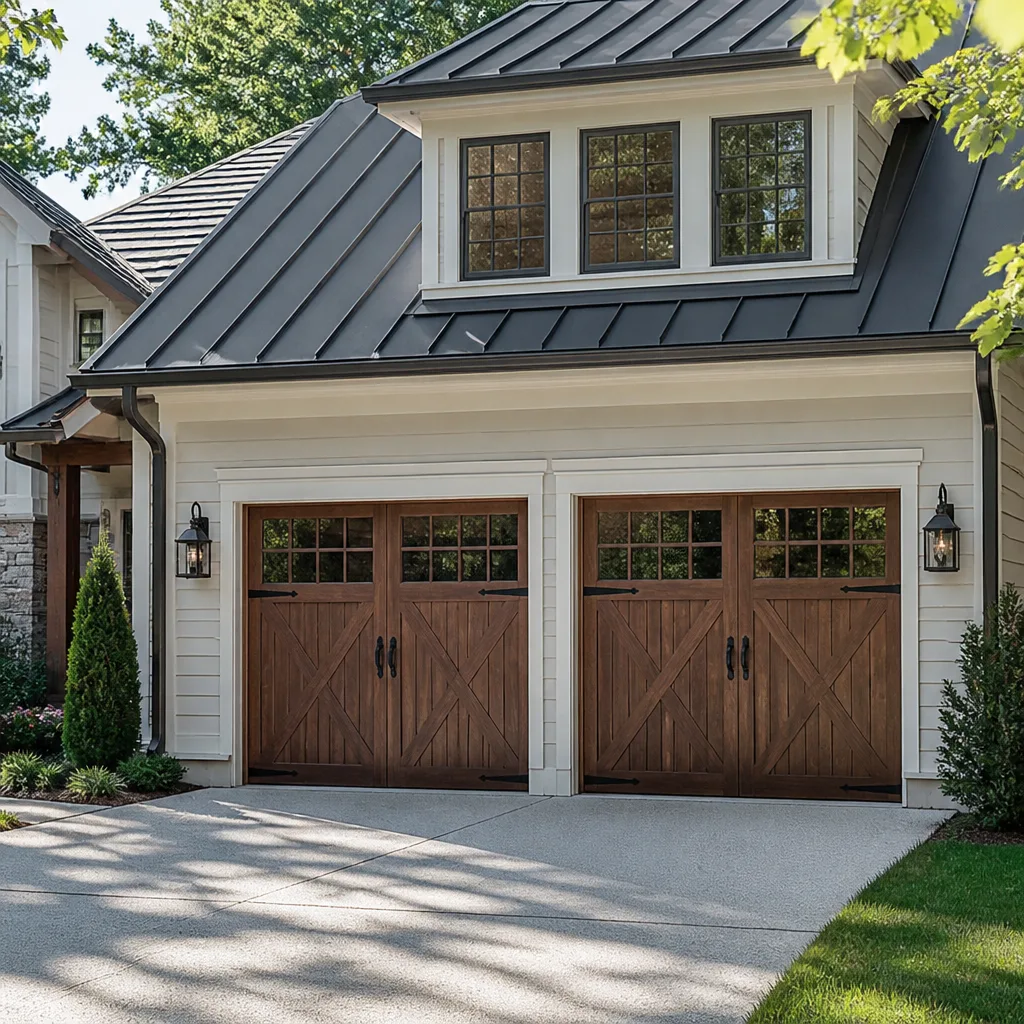 Carriage house
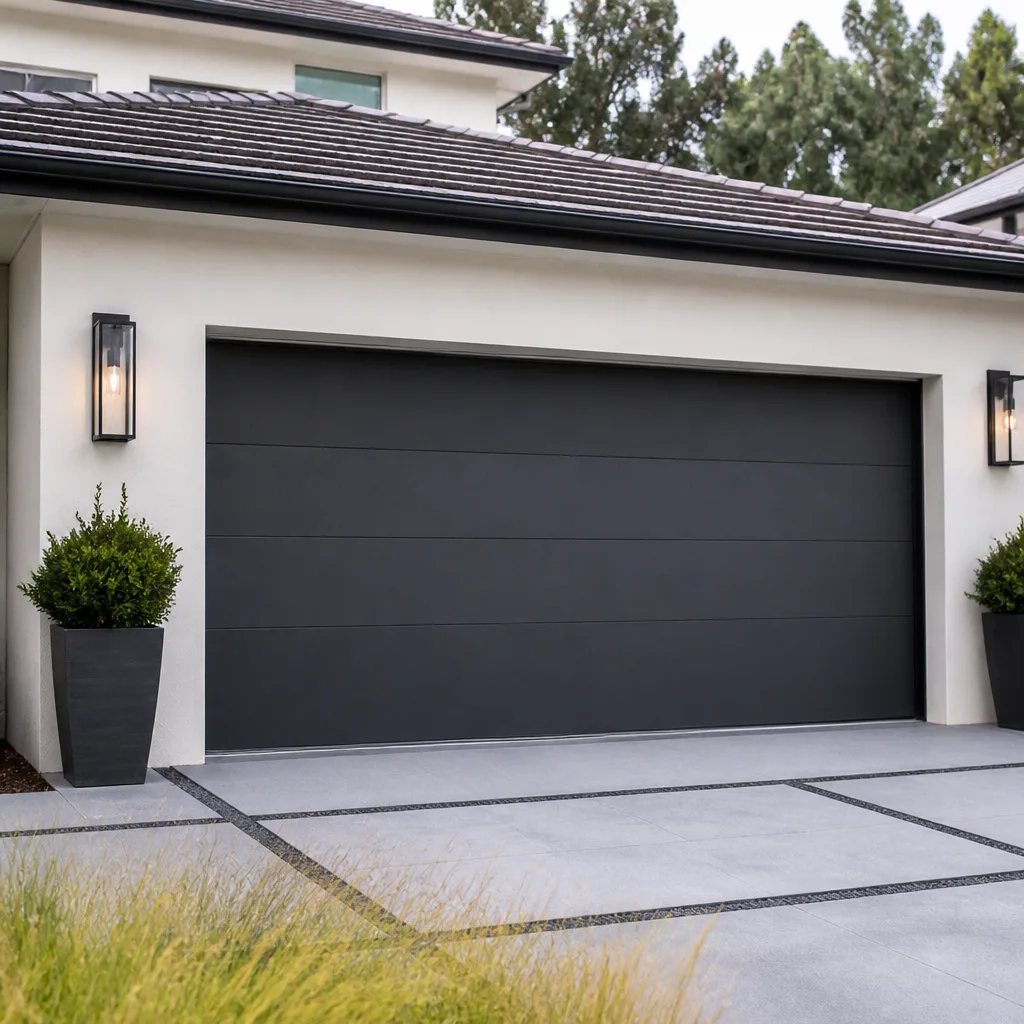 Modern flush
 Full-view glass
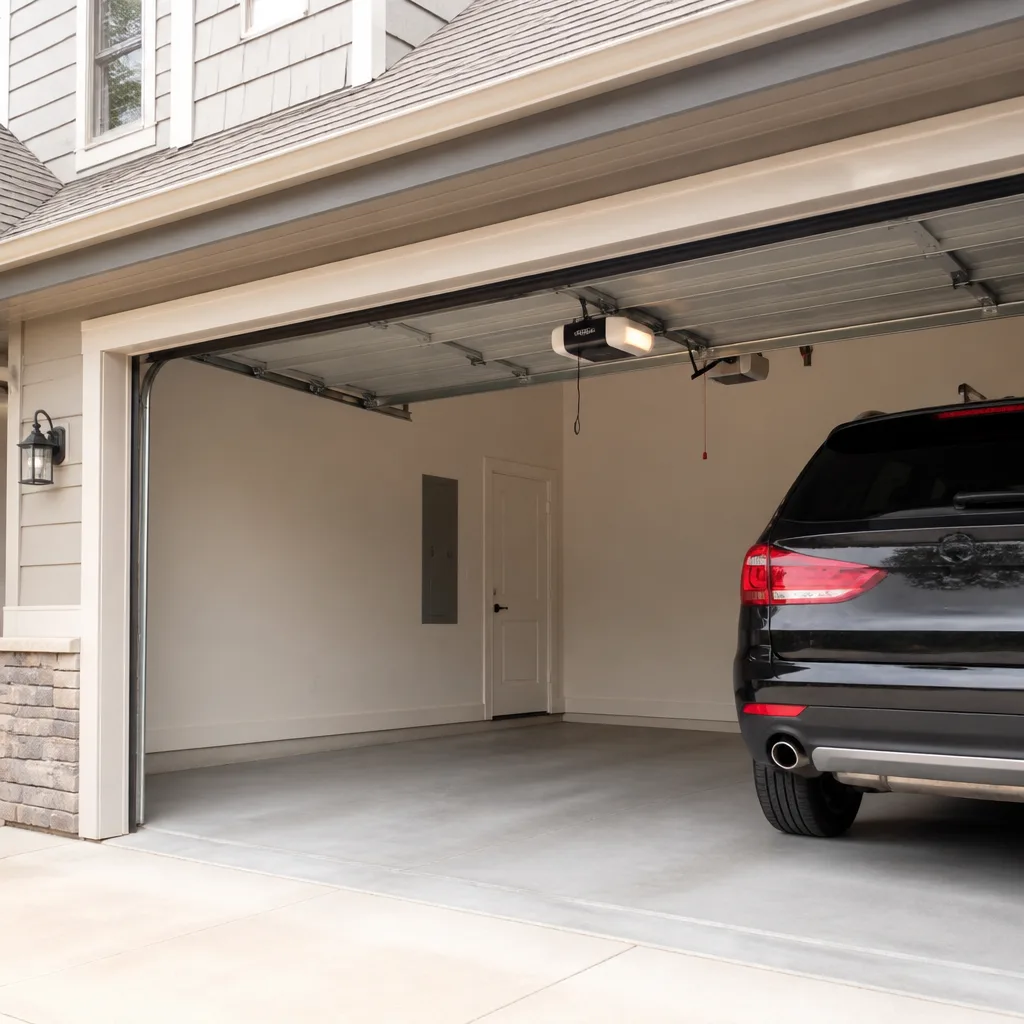 LiftMaster openers
 Chamberlain openers
Full 25-point door and opener safety check with every visit - springs, cables, rollers, tracks, and your LiftMaster or Chamberlain opener included
You get a price before we start. It does not change when the pro arrives.
Get your free estimateGarage Door Repair Maintenance Checklist for Shadyside Homeowners
Most garage door emergencies don’t start with a neglected door. They start with maintenance done in the wrong order. A homeowner oils a stiff track, tightens a loose bracket on a hinge that was already cracked, or adjusts an opener’s travel limit while a frayed cable is quietly taking all the load. The door works for a few more weeks, then one cycle loads a weakened component and it lets go. The fix would have taken minutes had it happened in the right sequence.
This guide gives you that sequence. We’ll walk through a checklist timed to what a Shadyside door actually faces: the humidity and freeze-thaw swings of a Pittsburgh winter, the age of the housing stock, and the mechanical wear patterns we see most often. You’ll learn which components to check first, how often to lubricate and with what, how to tell normal wear from a part that’s one cycle from failure, and exactly what a professional tune-up catches that you physically cannot inspect at home.
Styles & brands we work with
- Raised-panel steel
- Carriage house
- Modern flush
- Full-view glass
- LiftMaster openers
- Chamberlain openers
Quick Answer
A garage door maintenance checklist should run in strict order: safety-critical components first (springs, cables, bottom seal, safety sensors), mechanical hardware next (rollers, hinges, track alignment), then the opener and its safety reverse, and cosmetic items last. In Shadyside, that means inspecting springs and cables monthly in the freezing months, lubricating moving metal parts every three to six months given Pittsburgh’s humidity, and having a professional tune-up before each winter.
Table of Contents
- Why the Order of Your Checklist Matters
- Step One: The Safety-Critical Components
- Step Two: Cables and the Bottom Seal
- Step Three: Rollers, Hinges, and Track Hardware
- Step Four: The Opener and Safety Reverse
- How Often to Lubricate in Pittsburgh’s Climate
- Normal Wear vs. One Cycle From Failure
- What a Professional Tune-Up Catches That You Can’t
- Common Mistakes to Avoid
- When to Call a Professional
- Frequently Asked Questions
- The Bottom Line
Why the Order of Your Checklist Matters
Every garage door system transfers a massive load. The springs carry the door’s weight, the cables hold the springs’ tension, and the opener only has to lift what the springs have already counterbalanced. That means the entire mechanism depends on the weakest component. When you service the door out of order, you can unknowingly load a part that was never designed to take extra stress.
Here’s a simple example. Say a roller has worn flat on one side. You notice the door sounds rough, so you spray lubricant on the track. It quiets the noise, and you keep using the door. What you’ve actually done is mask the vibration from a worn roller, which over time works a hinge loose or cracks a bracket. The lubricant didn’t fix anything; it hid a symptom until a harder failure showed up.
The correct sequence always moves from the most dangerous parts to the least:
- Safety-critical components first: torsion or extension springs, cables, and bottom seal.
- Structural hardware next: rollers, hinges, brackets, and track alignment.
- The opener third: safety reverse, force settings, and electronics.
- Cosmetic items last: panel finish, weatherstripping, and hardware appearance.
If the first step turns up a problem, stop. A bad spring or cable is not something to work around. We’ve seen more than a few Shadyside doors where a homeowner spent a weekend adjusting hinges on a door whose cable was already down to two or three strands. Call a professional before you touch the rest of the checklist.
Step One: The Safety-Critical Components
Torsion and extension springs are the single most dangerous part of any garage door, and they’re the first thing to inspect. In Shadyside, the freeze-thaw cycle and temperature swings between November and March put real stress on spring steel. The metal flexes more in the cold, and the cycle count adds up fast. Catching a failing spring before it breaks is far cheaper and safer than catching it after.
You can identify a failing spring visually without touching it. Look for a visible gap in the coil, a stretched section, or a spring that looks uncoiled. If either spring on a torsion setup has any of those signs, do not operate the door. Call for garage door repair and keep the door shut until someone qualified looks at it.
What you can safely check:
- Visual gap test: look along the length of each spring for a visible break or gap in the coil.
- Tension test (no touching): raise the door about halfway by hand and let go gently. A door with good spring tension should stay roughly in place. One that drops hard needs professional attention.
- Noise change: a spring that has suddenly started to twang or snap on opening is a warning sign.
- Uneven lift: if one side of the door lifts ahead of the other, tension is off somewhere.
Spring replacement is a safety-critical job, and it’s a common point of DIY failure. We only ever recommend a trained professional handle it. This is the most technically demanding service in the trade, and it’s one of our core specialties – not something we hand off to another company. If you’re near Shadyside and your spring is suspect, a same-day call is worth more than another week of use. Estimates are free.
Step Two: Cables and the Bottom Seal
The cables are what hold the spring tension in place once the spring is energized. If a cable frays, the whole load gets redistributed to the remaining strands. The door may work fine right up to the moment a strand strand snaps. This is why cable inspection belongs on every checklist, not just the once-a-year version.
You can do a safe cable check with the door closed:
- Look at each cable along its full length with the door down.
- Fraying, kinks, and visible rust on the cable are all red flags.
- Check the cable ends where they attach to the door brackets and the drums (the metal spools at the top of a torsion setup).
- If a cable is loose or drooping with the door closed, stop and call.
Never try to re-tension or re-seat a cable yourself. Cables under spring tension can cause serious injury if they slip. This is one of the parts a professional will check and verify with the proper tools.
The bottom seal gets missed by most homeowner checklists because it’s out of sight when the door is up. With the door closed, run your hand along the bottom edge: the existing seal should meet the floor with no gaps, no cracks, and no pieces missing. In Shadyside, the bottom seal takes a beating from winter road grit and the general humidity of a Pittsburgh spring. A worn bottom seal lets cold air, water, and pests into the garage. It also puts uneven pressure on the door panel. If you can see daylight under the closed door, the seal needs attention before winter.
Step Three: Rollers, Hinges, and Track Hardware
Once the safety-critical components pass, move to the hardware. Rollers take the most constant wear of anything on the door, and they’re where the “wrong order” problem shows up most often. If you lubricate a worn roller, you mask the noise and speed up the failure. Replace it instead.
Walk the door from bottom to top with these checks:
- Rollers: worn rollers look flat or have a visible grooved pattern. Nylon rollers should spin freely and quietly. Steel rollers should be round with no flat spots. Any that wobble or sound rough need replacement.
- Hinges: hinge plates should sit flat with no bends or cracks. A cracked hinge is one cycle from failure; a hinge you’ve tightened too far is a future crack.
- Track alignment: the horizontal and vertical tracks should be straight and smooth with no obvious bends or kinks. Rust on the track needs treatment, but don’t sand it heavily. Take off loose surface rust, wipe it clean, and leave the rest alone.
- Bolts and brackets: check that bolts are snug. Never overtighten. On Shadyside’s older doors, hardware has often been tightened multiple times over the years and the bolt threads and metal are softer than they look.
Over-tightening is a classic DIY mistake, and it’s worth its own callout. A hinge bolt takes a quarter turn past snug, not an extra full turn. A bracket that has been clamped one turn too far can pull out of the panel, and that’s a repair far larger than the original loose bolt.
Step Four: The Opener and Safety Reverse
By the time you reach the opener, the door itself should be moving freely by hand. If the door is still stiff, work on the door first. Opener trouble is often a symptom of a door that’s too hard to lift.
The most important opener check is the safety reverse test. Place a small object (a roll of paper towels works) on the floor in the door’s path, close the door, and watch. The door should reverse on contact. Then test the photo-eye sensors at the bottom corners of the track: break the beam with your leg while the door closes, and it should reverse. If either test fails, stop using the door on the opener until it’s fixed.
Beyond that:
- Listen to the opener: a grinding noise, a click without movement, or a motor that runs but doesn’t lift the door all point to different problems. None of them are solved by pressing the remote harder.
- Force and travel limits: these settings live on the opener body. Don’t climb up and start adjusting them yourself. A door that suddenly reverses on its own is often a force setting that’s drifted.
- Remotes and connectivity: replace remote batteries, and re-pair remotes with the opener if a button stops working. If a smart opener has dropped off its app, that’s worth a specialist look rather than repeated reset attempts.
Whether you have a Craftsman unit or a newer LiftMaster, a garage door opener repair call covers the drive system, the electronics, and the smart-home connection as one job. Opener repair is a distinct specialty, not an afterthought, and it’s worth treating it as its own service instead of assuming the door panel is always the problem.
How Often to Lubricate in Pittsburgh’s Climate
Most checklists say “oil it once a year.” For Shadyside, that’s not frequent enough. Pittsburgh’s humidity through the warmer months, plus the freeze and thaw of December through February, means hinge pins, rollers, and the torsion spring will see far more movement-related wear than a mild climate would produce. We recommend two extra maintenance points: one in late spring and one in late fall.
Use the right product on the right part. This matters more than the interval:
- Hinges, rollers, and torsion springs: a garage door lubricant or silicone spray. Not WD-40, not motor oil, not thick grease. Those attract dirt and grit.
- The opener rail and drive screw/chain: follow the opener manufacturer’s recommendation. A chain needs the specified chain lube. A belt drive is usually cleaned, not greased.
- The track: hands off. The track is designed to run dry. Lubricant on the track collects grime and grit, and that grit grinds against the rollers. This is the single biggest cleaning mistake we see.
- Bottom seal and weatherstripping: a silicone or rubber protectant once a year keeps the rubber from cracking in the cold.
Effective lubrication intervals for Shadyside:
- Hinges and rollers: every three to six months, more often if the door is used more than twice a day.
- Torsion spring: once a year, using the right spray, with a visible check every month.
- Opener chain or screw: once a year, per the opener’s spec.
- Bottom seal: inspect quarterly, protect annually.
One practical note: don’t lubricate in the middle of a freezing spell. A cold door that has just been lubed can run stiffer for a few cycles, and a stiff door is exactly when a worn roller or hinge gives out. If you’re doing your maintenance yourself, do it in mild weather and let the door cycle a few times before cold sets in.
Normal Wear vs. One Cycle From Failure
The checklist is only useful if you know what you’re looking at. Some wear is normal and simply means “plan to replace this soon.” Other wear means the part is one cycle from a hard failure. Here’s how we distinguish the two during a professional inspection, and what you can look for yourself.
- Normal wear: a roller with a slightly glossy, rounded surface. A hinge plate with minor surface rust. A bottom seal with small surface cracks but no gaps. A light rattle at one end of the door.
- Approaching failure: a roller with a flat spot. A hinge plate with a visible bend. A cable with a loose strand. A spring with a small gap. Those parts should be replaced at the next service, and the door should be operated carefully until then.
- One cycle from failure: a spring with a clear gap and the door visibly sagging on one side. A cable down to just a few strands. A cracked hinge bracket. A door that drops hard when released halfway up. Stop operating the door and call.
The part most homeowners misread is the spring. A stretched or slightly gapped spring looks “fine” until it isn’t. In our experience, the season between Thanksgiving and late February is when Shadyside springs let go most often, because the cold metal has lost ductility and the daily cycle count keeps climbing. A spring that passes the visual test in September can be at that dangerous threshold by January. That’s the strongest argument for a professional pre-winter inspection.
Brands wear in different patterns, which helps narrow the diagnosis. Raynor extension springs can be easier to mistake for “still working” because the wear is spread across a longer coil. Craftsman opener drive systems are prone to a rattling noise at the same point on every cycle long before the drive actually fails. Knowing the system matters.
What a Professional Tune-Up Catches That You Can’t
The honest answer to “how much can I do myself?” is: plenty. But some of the most important checks require tools and access a homeowner can’t safely reproduce, and those checks are where a professional tune-up pays for itself.
Here’s a quick answer on what a professional tune-up covers that you cannot do safely at home:
- Spring cycle count and tension measurement: a technician measures actual spring tension with a winding bar. This is the most accurate way to know a spring’s remaining life, and it requires the door stationary and the torsion system properly de-energized.
- Cable tension verification at the drum: the drum-to-cable connection at the top of the door can only be checked safely with the door down and the system unloaded. A homeowner can’t get to it without risk.
- Panel and bracket inspection with the door lifted: a trained technician checks panel cracking and bracket fatigue at the full-open position, which you can’t safely reach from the ground.
- Square-and-balance check: the door frame, tracks, and panels are checked for squareness with a level and tape. This catches slow misalignment before it cracks a panel.
- Force-setting calibration: the opener’s force and travel settings are tested and calibrated against the door’s actual weight. This is done with a gauge and is not something to adjust by feel.
- Fastener torque check: every structural bolt is checked to spec. This is where over-tightening by a homeowner becomes visible, and where a technician can back off a bad tightening before it cracks a panel.
If your door hasn’t had a professional tune-up in more than a year, that’s the most useful call you can make, and we recommend scheduling it before the cold sets in. When the door is due for more than a tune-up, we also handle garage door installation for doors that have reached the end of their service life.
Common Mistakes to Avoid
- Over-tightening hardware. A hinge or bracket bolt takes a snug quarter turn, not a full one. Over-tightening compresses the metal, and repeated compression cracks the panel around the bolt hole. By the time you notice, the repair is bigger than the loose bolt was.
- Lubricating the track. The track is meant to run dry. Lubricant collects grit, the grit grinds the rollers, and the noise you were trying to fix gets worse. This is the most common DIY mistake in Shadyside homes, and it’s a surprise to most people who assume “more oil is better.”
- Wrong lubricant on the wrong part. WD-40 and motor oil are not garage door lubricants. They collect dust and gum up the hinge pins in cold weather. Use a garage door lubricant or silicone spray on hinges and rollers.
- Ignoring a warning noise because the door still opens. A grinding, rattling, or snapping noise on every cycle means something is wearing. A door that still opens is not a door that’s fine.
- Adjusting opener force limits by feel. Those settings are calibrated to the door’s weight. Turning a dial until the door “feels right” disables the safety reverse just enough that it won’t detect an obstacle.
- Doing the cosmetic service first. If you paint the panel, replace the weatherstripping, and polish the hinges, but skip checking the springs and cables, you’ve spent Saturday morning on the least important part of the door. Start with the dangerous stuff every time.
- Stopping the checklist at the door. The opener and its sensors are part of the system. A door that passes every mechanical check but has a failed safety reverse is not a safe door.
When to Call a Professional
Call a professional the moment any of these is true: a spring is broken, cracked, or visibly gapped; a cable is frayed, kinked, loose, or you can see individual strands; the door drops hard when released halfway up; the door reverses on its own without an obstacle; the opener runs but the door doesn’t move; the door has visible panel cracks near a hinge or bracket; or the safety reverse test fails.
Those are the “stop using it” scenarios. The softer cases are: the door is noisy every cycle even after correct lubrication; the door hasn’t had a professional tune-up in more than a year; the opener is more than a few years old and you’re wondering whether to repair or replace; the door lifts unevenly; or you simply want the pre-winter check. In Shadyside, a pre-winter tune-up is the cheapest insurance against a cold-morning breakdown.
Garage Door Repair Shadyside offers free estimates in Shadyside and works on all major brands, including LiftMaster, Chamberlain, Craftsman, and Raynor. Estimates are free and we work through our standard service categories: repair, opener repair, installation, parts, and spring repair. Our technicians have up to 13 years of experience. Call (833) 345-5091 to schedule, and we’ll give you a written price before any work starts.
Frequently Asked Questions
A garage door should get a full professional tune-up once a year, ideally in late summer or early fall before the cold sets in. Homeowner checks belong on a monthly or quarterly rhythm: safety-critical parts monthly in the freezing season, and lubrication every three to six months. Call (833) 345-5091 for a free estimate.
The right order is safety-critical parts first: springs, cables, and bottom seal, then rollers and hardware, then the opener and its safety reverse, and cosmetic items last. Servicing a cosmetic item before the dangerous ones can load a weakened component by accident. If you’re not sure you can do it safely, a free estimate from our team takes the guesswork out.
We give a written estimate per job rather than a published rate, and the price is quoted and agreed before any work starts. The final price is set by the written estimate, which reflects the parts you actually need and the door’s condition. Call (833) 345-5091 for a free estimate.
In most cases, yes. Spring repair is a core specialty for us and a same-day response is our goal when parts are available for your system. That said, we won’t promise same-day on every job; the technician will confirm when you call. Same-day service is a goal for repair and emergency work, and you’ll get a written price before anything begins. Call (833) 345-5091.
The written estimate you agree to is the price you pay, and we don’t add charges after the fact. If the check turns up additional damage (a cracked panel, a hinge tied to a failed bracket), the technician explains it and gives you a new written price before doing that work. Nothing gets added without your approval. Call (833) 345-5091 for a free estimate.
The local professional we connect you with is licensed and insured as the state requires. We work on all major brands and our technicians have up to 13 years of experience. Call (833) 345-5091 and we’ll confirm the details for your job.
The Bottom Line
A garage door maintenance checklist in Shadyside isn’t a generic to-do list. It’s a sequence: safety-critical components first, hardware second, opener third, cosmetics last. Get that order right and you avoid loading a weakened spring, a frayed cable, or a cracked hinge. Lubricate on the interval your climate demands (every three to six months for moving metal parts, not once a year), use the right product on the right part, and never put lubricant on the track. If any part is at “one cycle from failure” – a gapped spring, a frayed cable, a door that drops hard – stop using the door and call a specialist. For a free estimate, Garage Door Repair Shadyside is the number to call.
Call (833) 345-5091 for a free estimate. Same-day response for repair and emergency calls, parts on hand for the major brands, and a written price before any work starts.
Written by the team at Garage Door Repair Shadyside.
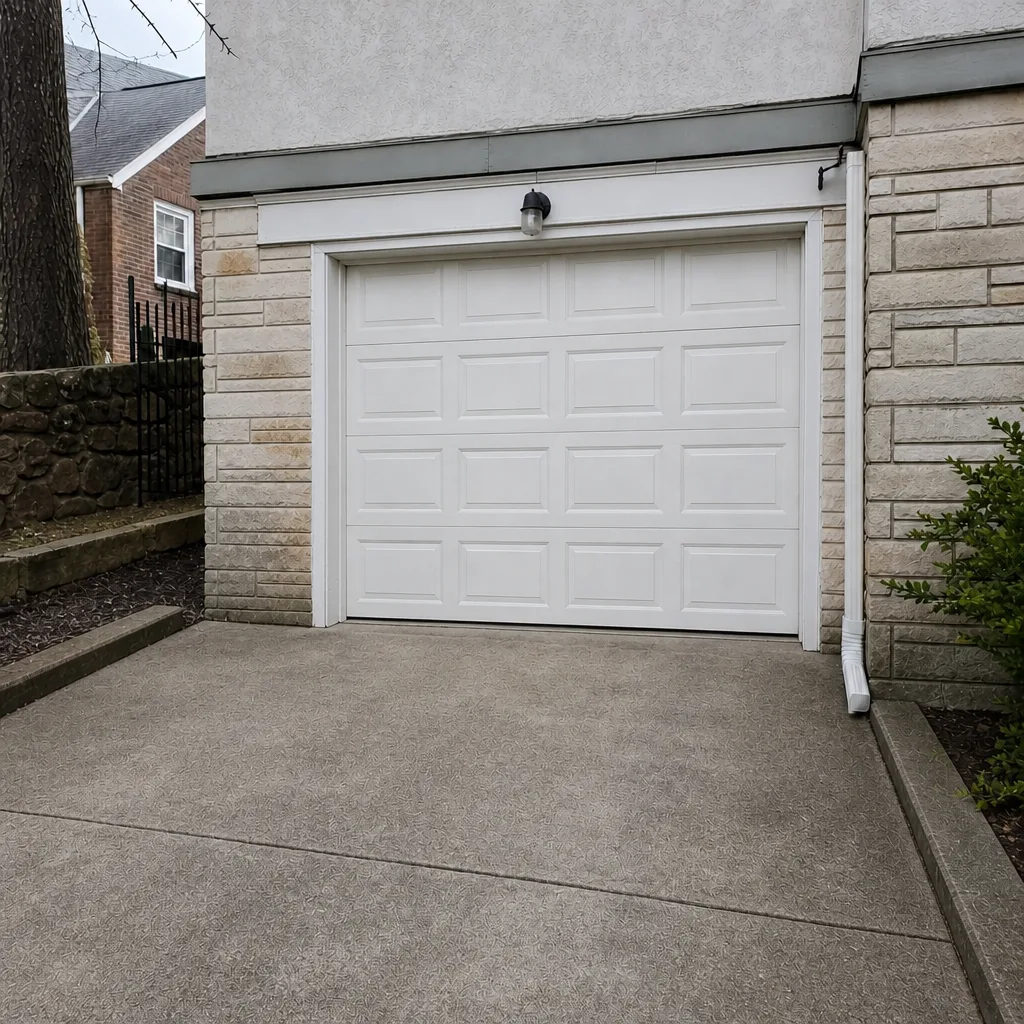
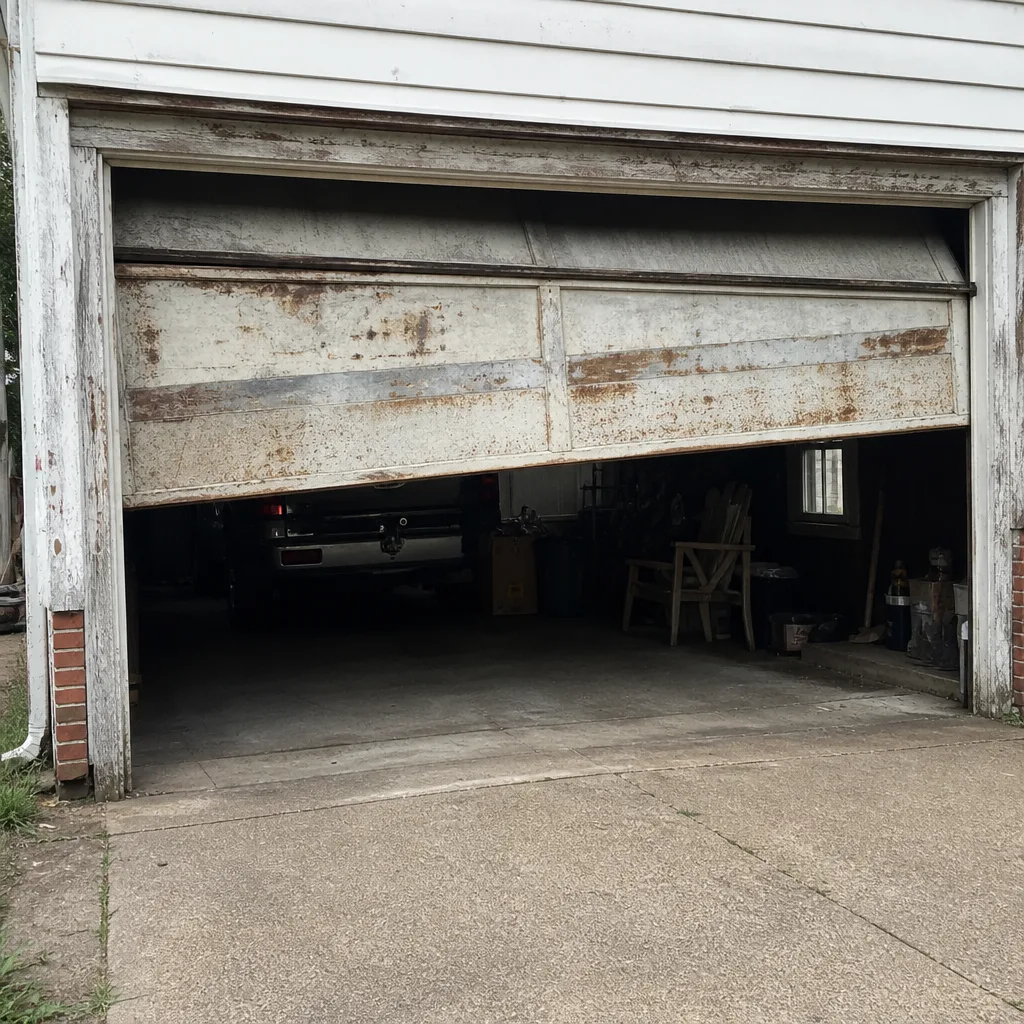
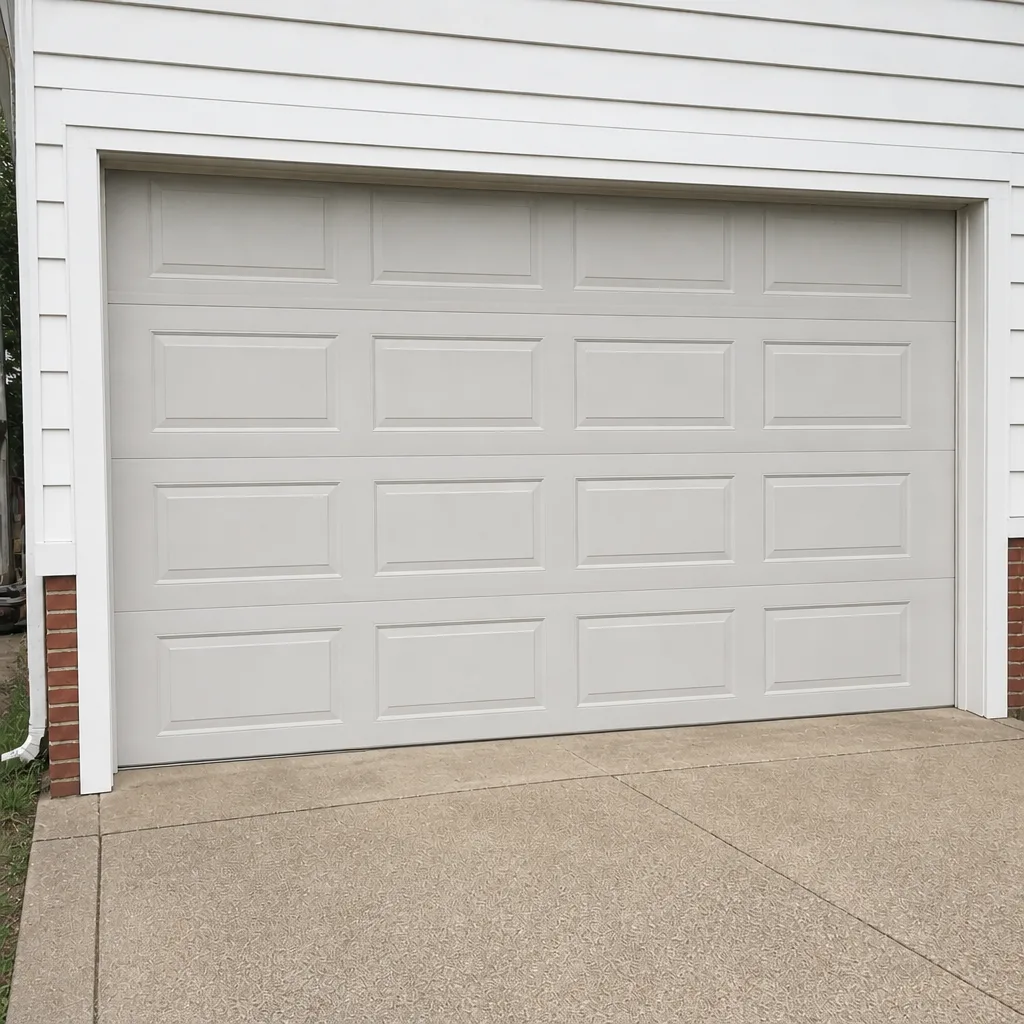
See the difference
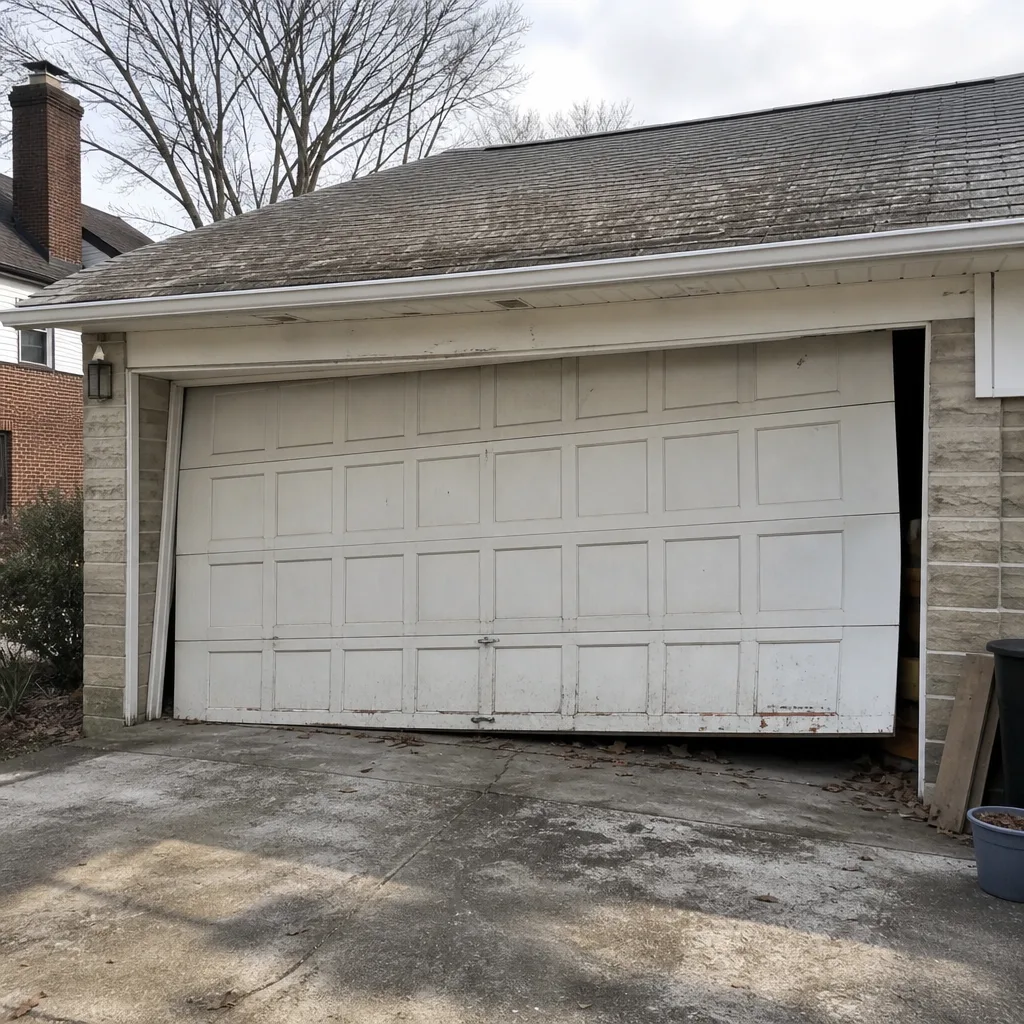 Before
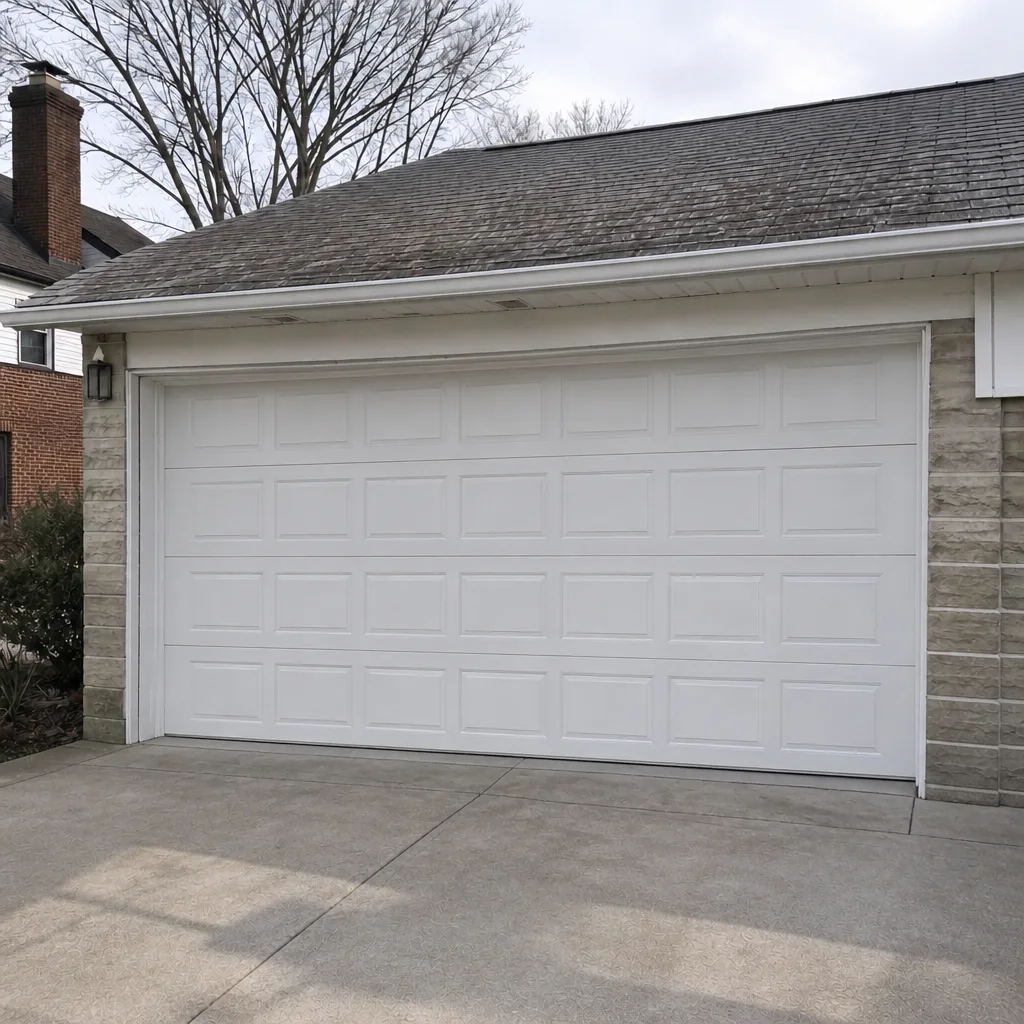 After
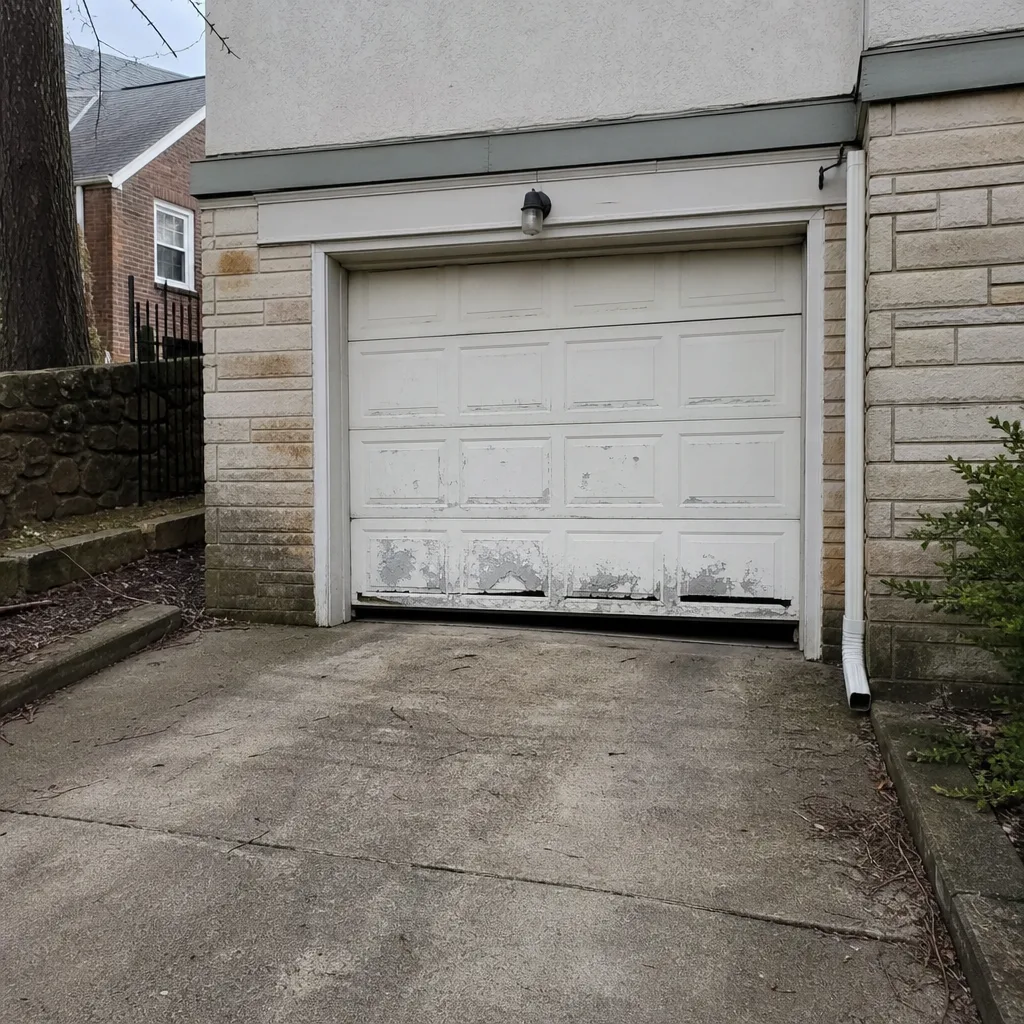 Before
 After
 Before
 After